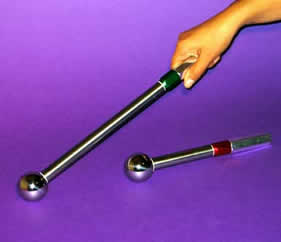
Large and Extra Long Ball Gages


Measuring Internal Threads with Balls
Precision Balls as Measuring Tools
Internal threads are a difficult feature to measure. Thread plug gages are expensive and when special pitch diameter gages are required the delivery of the gage can be measured in weeks. Special pitch diameters are required when preparing internal threads for plating, hard anodizing or dry film lubricant and for installing threaded inserts.
Precision balls of the same diameter as the best wire size for the thread being measured can be used with cylindrical plug gages to accurately measure the pitch diameter of internal threads. Petroleum jelly can be mixed with the smaller diameter balls to hold them in the pitch diameter of the thread. and anhydrous lanolin can used to hold the larger diameter balls in place.
A good number of balls should be applied all the way around the thread. For most common threads the balls used are very small in diameter and quite inexpensive. The evaluation of the pitch diameter is made by inserting a progressively larger series of cylindrical plug gages into the gap between the pitch diameter of the thread and the opposite side of the balls. A point will be reached when one cylindrical plug gage will slip right through the gap but the next larger plug will not even start. Using this method the pitch diameter of quality threads can be determined within .0002 of an inch. This method is a little messy but it is safe, it is inexpensive,it is very accurate, and most of the best wire size balls can be supplied directly from stock.
Determining the True Position of Threaded Holes
Another excellent application of this technique is to determine the exact positional location of the pitch diameter of a threaded hole. The same basic technique is used but the largest cylindrical plug gage to fit is left protruding from the hole. This cylindrical plug gage will define the true axis of the thread including the squareness. Its position is then determined by a coordinate measuring machine, micrometer, calipers or with a height gage on a surface plate (see Figure 2.).
To prevent the cylindrical plug gage from slipping all the way through a threaded hole in the test part, place an "o" ring around the plug gage about 3/8 of an inch (9.53 mm) from the end (see Fig. 2)
See here for Ball Gage prices.